
How to use iPilot
1) Download iPilot proxy client (archive password: dslrentals , you can also download Winrar from here (click green button “CNET secure download”) if you need it).
2) Unzip this program to your computer to the following path “C:\Program files\ProxyPilot”, you can create folder “ProxyPilot” for that.
Archive password: dslrentals
3) Run unzipped file ipilot.exe (please note that our client works directly with Firefox browser, so it will start your Firefox automatically). If you don’t have Firefox installed, please download and install the latest version on your computer.
If you need to use any other browser please read the detailed instructions on how to setup and use the other most popular browsers here.
4) Once you started ipilot.exe you should see “Red Ball” in Windows TaskBar (the right bottom corner).
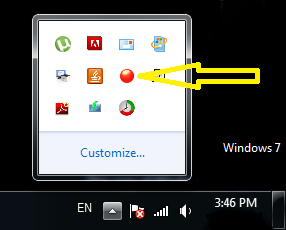
Right-click on “Red Ball” (make sure you did RIGHT-CLICK), and you will see option “Activate”,
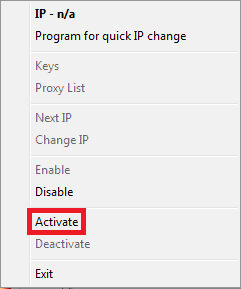
Click on it and enter your credentials that you got from an email. For example:
username: TypeYourUsername
password: TypeYourPassword
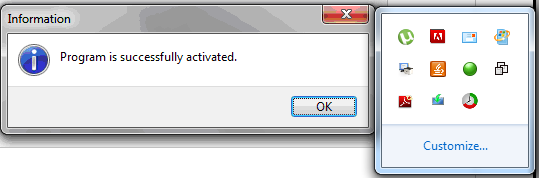
That will activate your Client. “Red ball” should now become “Green Ball” (sometimes it may appears as “Yellow Ball” that is OK too).
5) Now you have to activate your licence key. For activation click on Green ball (program icon) and choose option “Keys”. You will see pop-up window “Key Manager”.
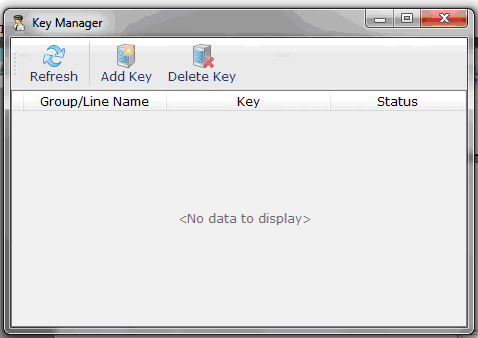
In “Key Manager” window choose “Add key”, then enter your license key number (you got it from the email). That would give you access to our proxy list of your locations.
6) If you click on Green ball you will now be able to choose option “Proxy list”.

Click on it and it will open new window with all available locations. You can double-click on a specific location (if you have more than one location), or just use button “Next IP” ![]() to move between locations.
to move between locations.
7) IPs are changing automatically on each line, every 15 minutes. You can see seconds left before the next change in tab “Auto Change”.
8) Tab “Line name” shows which location you use, “Proxy IP” shows current IP address of that location.